

- STORY BOOK INSTALL

1ST STEP : npx storybook@latest init run this command
2nd STEP : How to launch storybook
npm run storybook run this command
2. Install tailwind CSS
1ST STEP : npm install -D tailwindcss postcss autoprefixer
Run this command
2nd STEP : npx tailwindcss init -p
Run this command create automatic a folder name
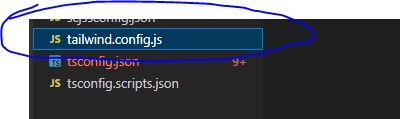
3rd :
/** @type {import('tailwindcss').Config} */

     module.exports = {

  content: [

    "./app/**/*.{js,ts,jsx,tsx,mdx}",

    "./pages/**/*.{js,ts,jsx,tsx,mdx}",

    "./components/**/*.{js,ts,jsx,tsx,mdx}",

    // Or if using `src` directory:

    "./src/**/*.{js,ts,jsx,tsx,mdx}",

  ],

  theme: {

    extend: {},

  },

  plugins: [],

}4th : copy all above code and past below folder


5th : in storybook create a file preview-head.html
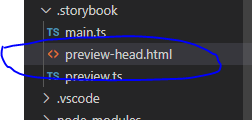
In preview -head.html file past belove code
<script src="https://cdn.tailwindcss.com?plugins=forms,typography,aspect-ratio,line-clamp"></script>